外观
ESXI群辉扩容(版本:7.1)
第一步:虚拟机扩容
先关闭群晖虚拟机,在esxi虚拟机设置中编辑 ,将虚拟硬盘调整到想要大小。 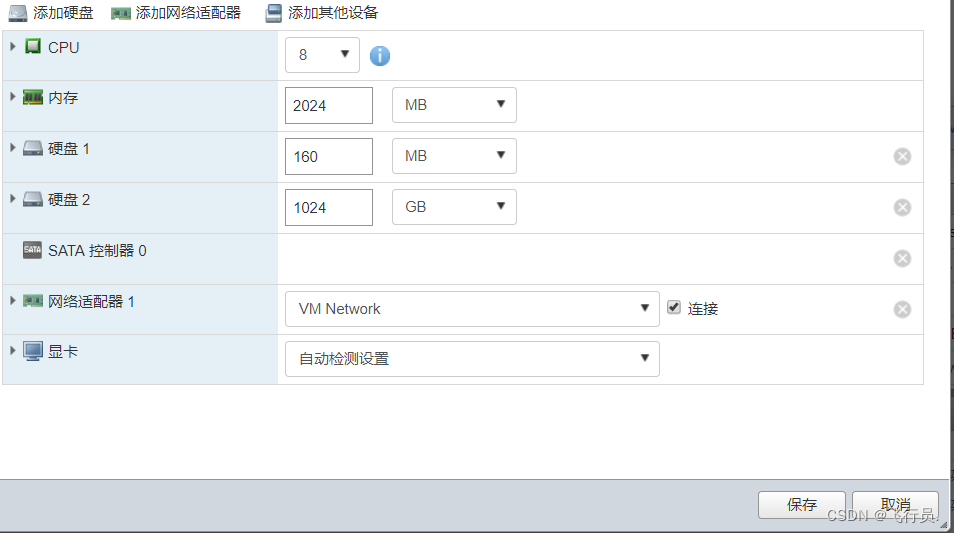
第二步:SSH设置
- root账户下,查看硬盘情况
# 查看硬盘情况
fdisk -l
Disk /dev/
sda: 50 GiB, 53687091200 bytes, 104857600 sectorsDisk model: Virtual SATA Hard Drive
Units: sectors of 1 * 512 = 512 bytes
Sector size (logical/physical): 512 bytes / 512 bytes
I/O size (minimum/optimal): 512 bytes / 512 bytes
Disklabel type: dos
Disk identifier: 0x425489ac

找到需要扩容的硬盘编号,一般是在这个部分的上面位置,根据ESXI给的整个硬盘的大小进行判断,这里是sda
- 再查看分区大小
# 查看分区大小
parted /dev/sda
GNU Parted 3.2
Using /dev/sda
Welcome to GNU Parted! Type ‘help’ to view a list of commands.
(parted) print
Model: VMware Virtual SATA Har (scsi)
Disk /dev/sda: 53.7GB
Sector size (logical/physical): 512B/512B
Partition Table: msdos
Disk Flags:
(parted)
- (parted)后面面输入
printNumber Start End Size Type File system Flags
1 4194kB 8594MB 8590MB primary raid
2 8594MB 10.7GB 2147MB primary raid
3 10.9GB 22.4GB 11.6GB primary raid
可以看到,我们需要扩容的分区为sda硬盘的第三分区
- ctrl+c返回root用户下,将sda3容量扩展到100%
# 容量扩展到100%
parted /dev/sda resizepart 3 100%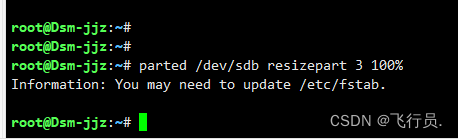 执行后提示“you may need to update /etc/fstab",这里不用管,分区已经扩容成功
群晖扩容
ssh端已经操作完毕,打开web端,存储管理器,选择立即扩容进行扩容。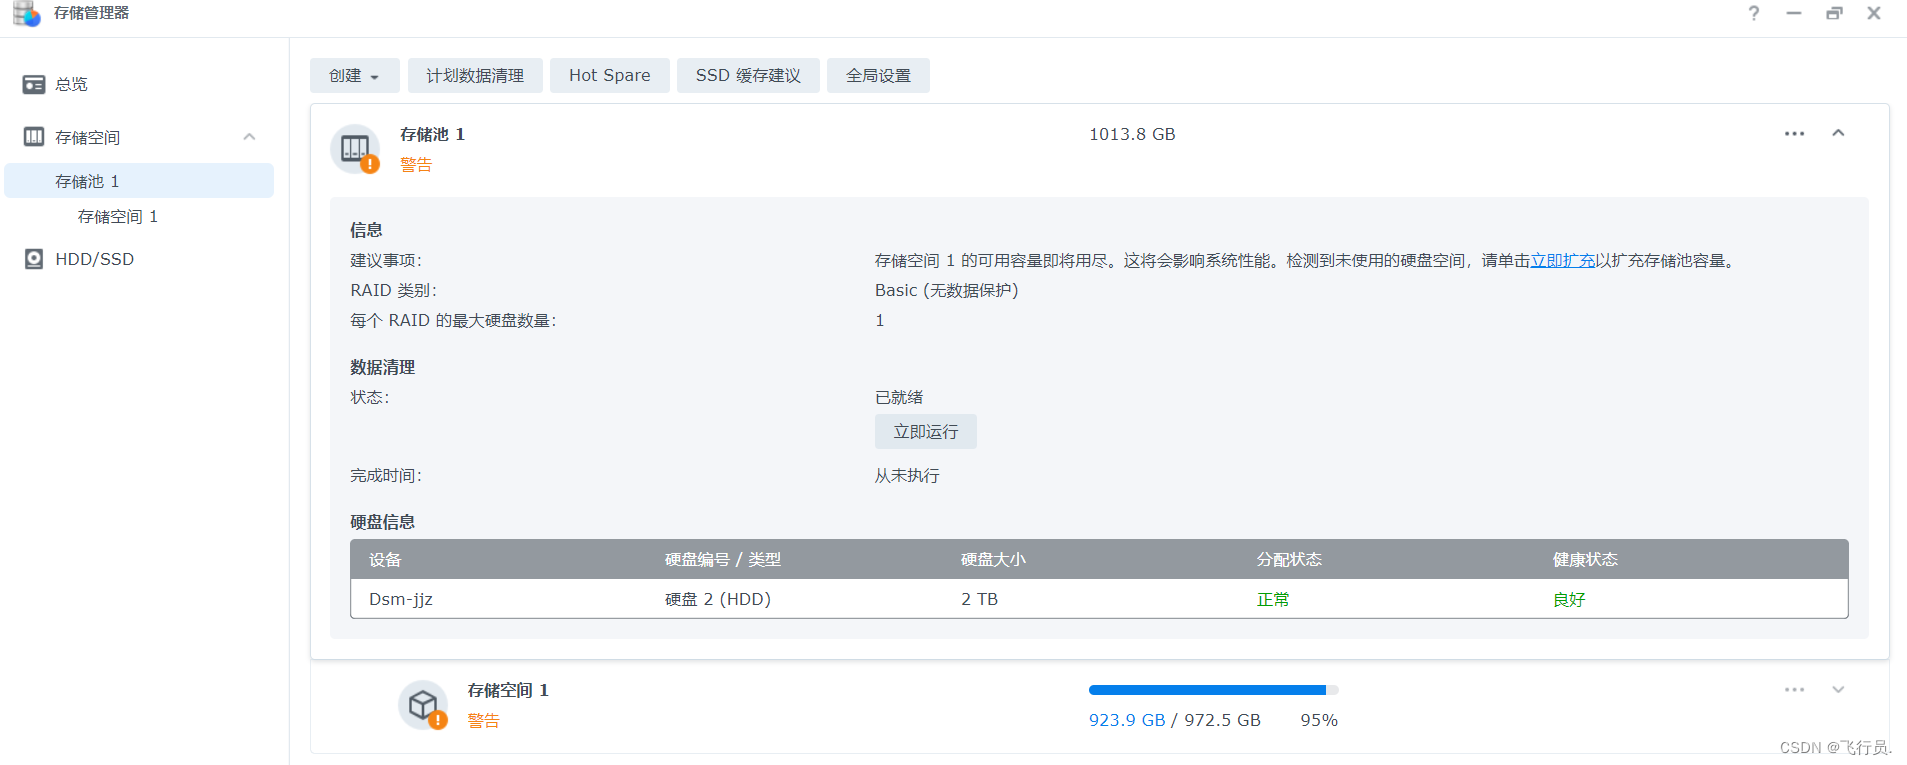
原文地址:https://blog.csdn.net/weixin_42784408/article/details/125576900